Sep 03, 2024Posted by Brittany Garcia to Edit Video
Video making is when you unleash your creativity and convey your purpose to a target audience. With almost all digital content available, you will have the materials to create. Making a video with pictures is also one method that you can use for video making. In this case, this post will help you create a video with photos with the following recommended tools, which are available as desktop and online tools.

- Part 1. Why You Need to Make a Video with Photos
- Part 2. How to Make a Video with Pictures via Video Editing Software
- Part 3. Create Video from Photos Online
- Part 4. Create Video from Photos on Mobile Apps
- Part 5. FAQs about Making a Video with Pictures
Part 1. Why You Need to Make a Video with Photos
Pictures are an effective way to be creative in video making, especially if you want to communicate with your viewers in a different manner. Whether you want to make a video about a life story, documentary, or even something as simple as a school project, adding photos helps give a meaningful impact to your work. Moreover, several editing methods can be done with pictures, including a digital collage, GIF, and so on. You will only need an effective video editor to achieve the desired result.
Part 2. How to Make a Video with Pictures via Video Editing Software
Video Converter Ultimate is the right choice for effortless video-making with pictures. It supports hundreds of media file formats, including JPEG, PNG, MP4, MOV, and more. So, it is easier to compile various image types, even with video files. But if you want to make the same type of format, the video editor can convert all pictures in just one click. On the other hand, you can find more functions that will help you upscale, add effects, and further modify your video instantly. Make videos with pictures via Video Converter Ultimate on Windows and Mac.
- Compile various image types to create a video.
- Robust output settings for format, resolution, bitrate, and quality.
- Export created videos without compromising the original quality.
- Extensive library of filters and effects to add to the video.
Step 1. Click the Free Download button to download the software.
Free Download
For Windows
Secure Download
Free Download
for macOS
Secure Download
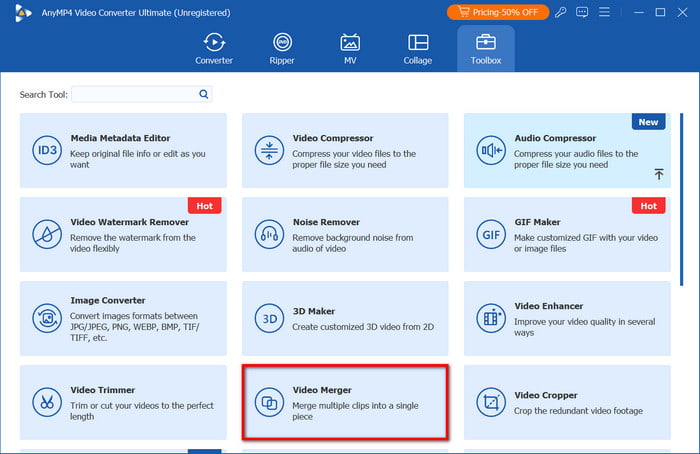
Once installed and launched, access the Toolbox menu and open the Video Merger. Click the Add button to upload the first photo. Once you enter the editing window, you can add more images.
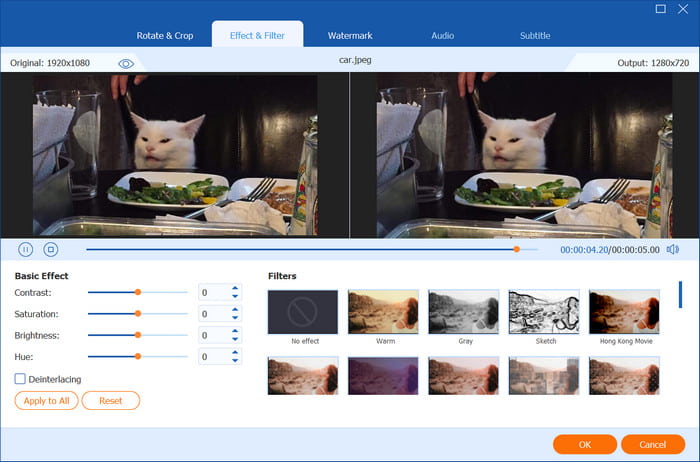
Step 2. Organize the photos within the timeline. Then, click the Edit button to access tools like rotator, cropper, and audio. You can also find here the filters and effects you can add to the photos. Click OK to save.
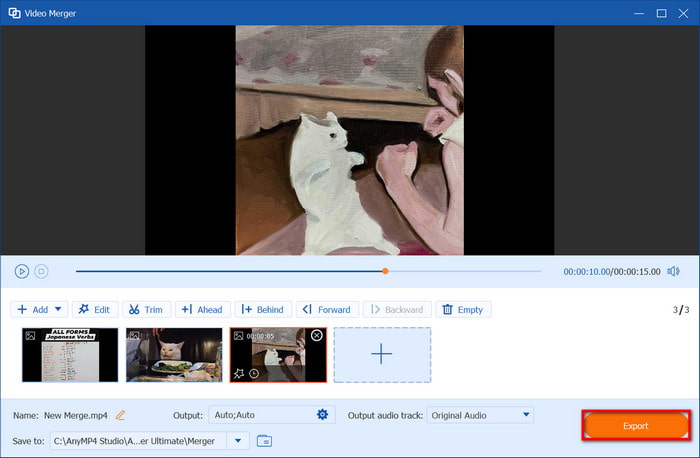
Step 3. To save the video in another format, go to the Output menu and choose the desired format, resolution, frame rate, and audio settings. Then, select the location folder where you want to store the file. Once you've done this, click the Export button to save the video.
Video Converter Ultimate makes it quicker to make a video with pictures. It is designed with a straightforward interface and complete editing tools. This video editor is free on the latest versions of Windows and macOS.
Part 3. Create Video from Photos Online
Kapwing
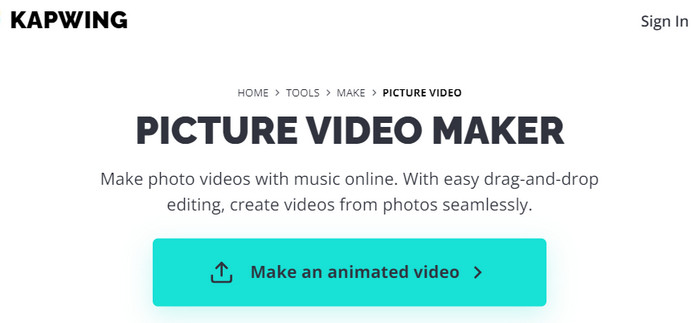
Kapwing is an online image and video maker. Its popularity is based on its amazing set of editing functions, which allow you to edit videos and pictures instantly. Another great thing about this online tool is its support for various resolutions that are social media standards, such as TikTok, Instagram, etc. Kapwing is accessible on many web browsers, such as Chrome, Edge, and Safari.
Pros
- Extensive libraries of filters, effects, and templates.
- Built-in music to add to the pictures.
- Enhance picture quality with AI tools.
Cons
- Save videos with a watermark.
- Require a subscription to download edited files.
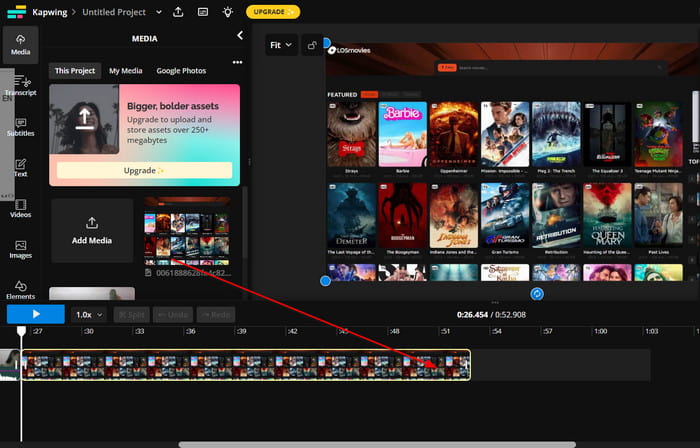
Step 1. Visit the Kapwing website. Upload the picture and choose the resolution from the options. Once the first one is uploaded, import more images.
Step 2. Drag the photos to the timeline and rearrange them. The right panel of the video creator provides elements that you can add and insert to the project.
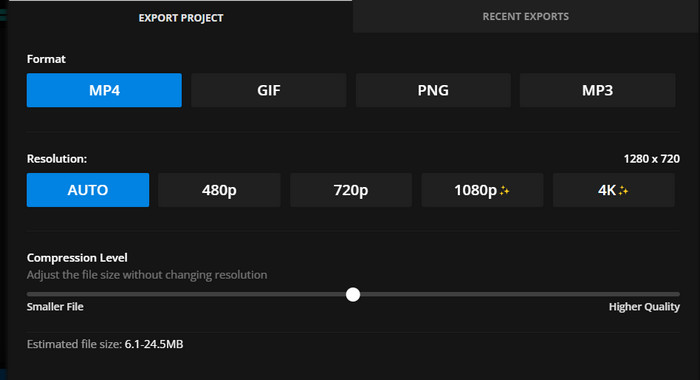
Step 3. Preview the result after editing. Click the Export button to select the output format, resolution, and compression level.
Here, if you want to resize a video on Kapwing, you can use the crop feature before exporting.
Then, provide an email account to sign in on Kapwing. The video will be downloaded in a few moments.
It is an amazing online tool for creating videos with pictures. While it appears to be free, you must subscribe to Kapwing to remove the watermark and unlock other features that are locked behind a paywall.
CapCut
If you wish to learn how to make a video with pictures and music online, CapCut is the best website to visit. It consists of smart functions that are also easy to use and can make the video more appealing. Moreover, you can add a personal touch to your video by adding a transcript and caption as subtitles.
Pros
- Generous free templates and effects.
- Support JPEG, PNG, GIF, and other image types.
Cons
- You’re required to invite people before accessing the tool.
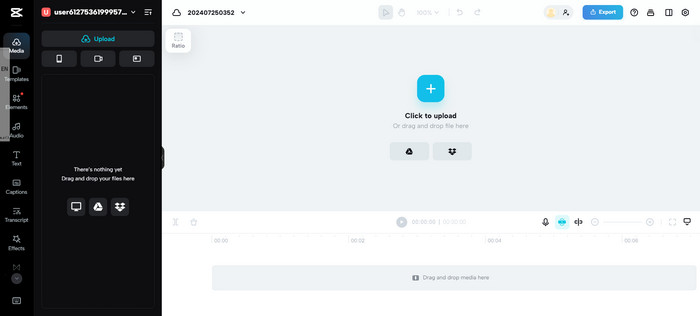
Step 1. Once you are signed in on CapCut, drag and drop the images from your folder. You can also upload from Google Drive or Dropbox. Put all uploaded files to the timeline below the interface.
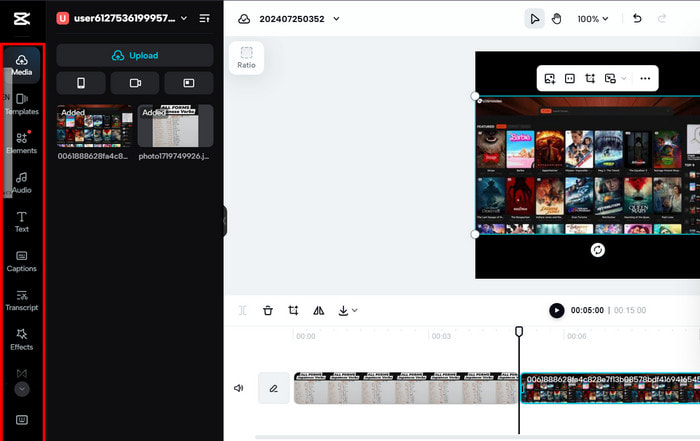
Step 2. Proceed to edit the pictures with the provided features from the left panel. Optionally, add elements like stickers or transitions to beautify the video.
Also, if you can use its other editing features like reverse a video, trim a clip, and more on CapCut.
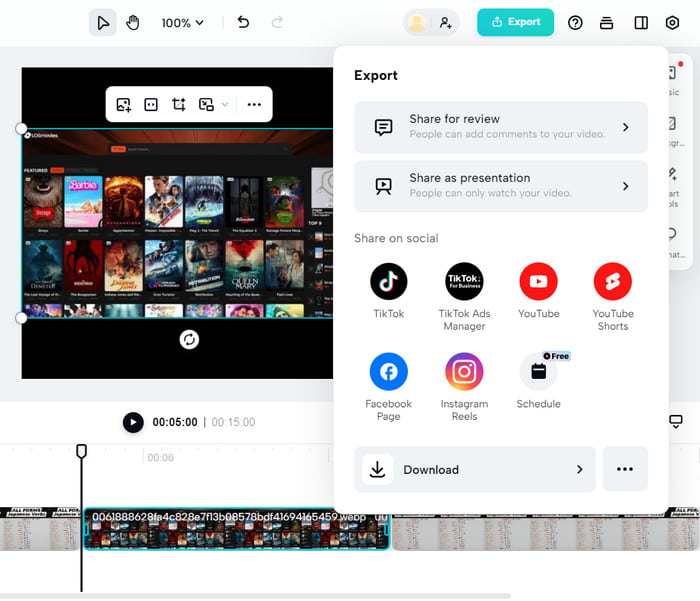
Step 3. When you click the Export button, CapCut will give you options to share the created video on social media or download it to your computer.
With this online video maker, you can instantly make a video with your photos. Surprisingly, it asks too much for signing up, such as inviting people to become members. If you think it’s not for you, consider using other alternatives from this post.
Part 4. Create Video from Photos on Mobile Apps
PowerDirector
This robust app allows you to make a video with pictures on iPhone and Android. It supports various resolutions for images, or you can change the aspect ratio with its video cropper. The best part of PowerDirector is the wide options of filters, transitions, and effects that you can add to your video.
Pros
- Free to download on Android and iOS.
- Provide templates and collages.
Cons
- Most advanced settings are only available on Pro.
- Ads interrupt your editing.
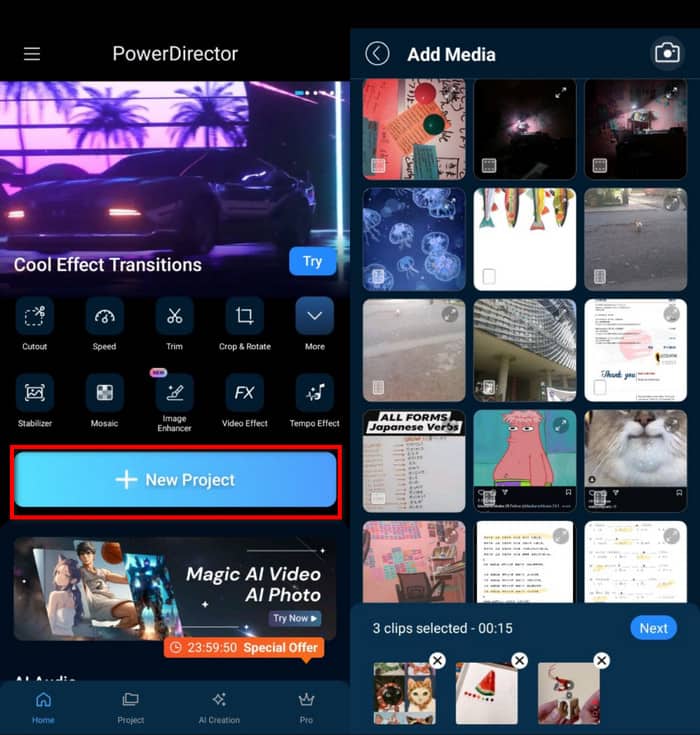
Step 1. Install PowerDirector on your phone. Launch and tap the New Project button to start editing. Browse your folder and choose multiple pictures you want to add. Tap Next to proceed.
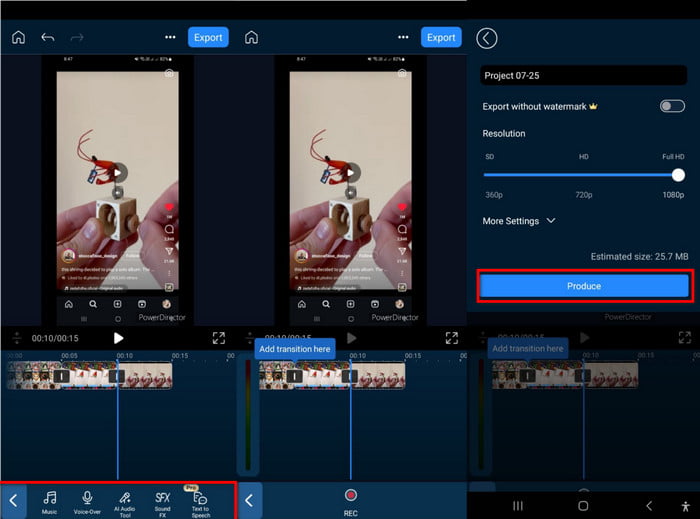
Step 2. Organize the photos from the timeline accordingly. Select music, filters, or transitions to add to the video. Once done, tap Export and configure the desired resolution. Tap Produce to save.
This image-to-video maker is a great app for Android and iPhone. PowerDirector is free to download from the App Store and Google Play. However, if you need its advanced features, you will need to upgrade to the pro version.
Video Maker
Another app that you can download on iOS and Android is Video Maker. You don’t need to learn how to create a video with images since the app is designed with an intuitive interface. In addition to uploading existing pictures, it also has a built-in camera where you can record in real-time. Video Maker is a free tool, but it is also an affordable investment if you want a pro video editor on your phone.
Pros
- Enhance pictures and videos using AI.
- Unique functions to turn images into mosaics and various patterns.
Cons
- Crash randomly while editing.
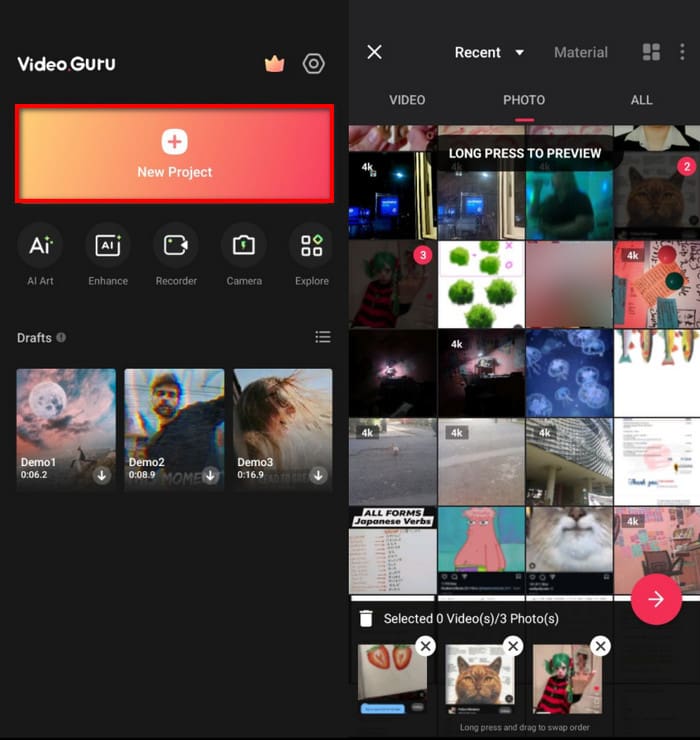
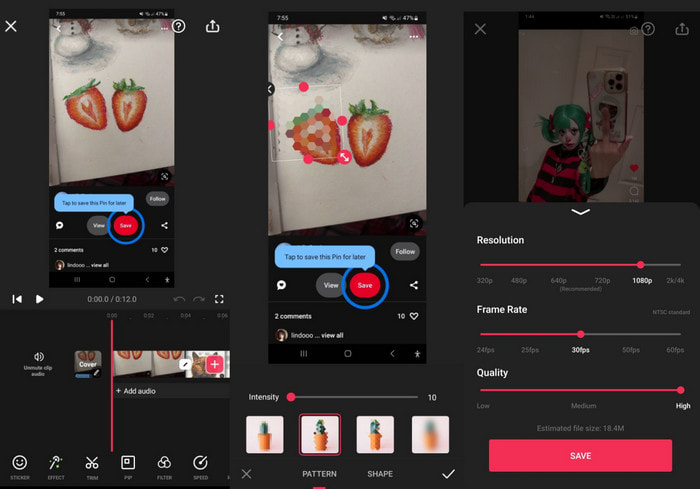
Step 1. Download and install Video Maker on your device. Once it is running, tap the New Project button and add the pictures you want to make as a video.
Step 2. At the bottom of the interface, choose filters, transitions, and other elements for the video. Edit images with patterns or change the playback speed. Preview your work, then tap Export. Adjust the resolution, FPS, and quality parameters, then tap Save to finish.
Video Maker quickly creates videos with photos on your phone. It has a great set of features, and upgrading to the pro version is affordable. Just make sure that the app version is compatible with your phone, or you’ll experience crashes once you use the app.
Part 5. FAQs about Making a Video with Pictures
-
What is the app that makes videos from photos?
PowerDirector and Video Maker can create photos and videos. However, similar apps that support popular image formats can be found on Google Play and the App Store.
-
How to create a video from iPhone photos?
Use the iMovie app on your iPhone. Tap Create a New Project and import the images from your gallery. Arrange the pictures and edit them with transitions, music, and text. Click Play to preview, then export the video. Follow the detailed steps of using iMovie slideshow.
-
Does Apple have a free slideshow maker?
Natively, you can compile pictures and turn them into one video via the Photos app. You only need to open the app and choose pictures from your gallery. Then, tap the Share button and select the Slideshow icon. Customize the video and tap Done.
Wrapping up
How did you create a video with pictures? The recommended tools allow you to be creative with your pictures, with many choices to enhance and beautify the video, even if you use a computer or phone to edit. For simpler and more effective video making, Video Converter Ultimate is the best option for Windows and Mac. Not only is it powerful in video making, but it is also great for converting, modifying, and upscaling all of your images and videos. Try the free trial version by clicking the Free Download button.
More from Blu-ray Master
- Pro Tips for Creating Stunning Instagram Slideshows
- How to Make Fantastic Graduation Slideshows For Free
- Complete Guidepost of Animoto Free Video Maker for Slideshows
- Guide on How to Make Splendid Slideshows in Final Cut Pro
- Awesome Slideshow Templates of 3 Popular Slideshow Creators
- How to Make Wonderful Slideshows Using Adobe After Effects