November 24, 2023 10:31Updated by Selena Thomas to Edit Video
A slideshow is a set of images turned into a video by flashing the said images in a sequence accompanied by music to make it more appealing. You can include any photos in your slideshow and add filters and effects to enhance them visually. And Apple’s Final Cut Pro program can create beautiful slideshows without effort. With its advanced features for professional video editors and filmmakers, your slideshows will appear spectacular.
Continue reading below to know how to make a slideshow in Final Cut Pro and the best alternative tool in case Final Cut Pro is not available for you.
Part 1. Best Alternative to Final Cut Pro
Final Cut Pro may be an excellent slideshow program for Mac users, but it also has restrictions that average users might find annoying. It is challenging to master, the free version lasts only 30 days, and there is no Windows version. To solve your problem, you should try this program. Video Converter Ultimate allows you to make spectacular slideshows with just a few clicks. Using its MV feature, not only can you create slideshows, but you can also create music videos and short movies for free. You can do plenty of customizations like adding background music, filter effects, editing photos, using templates with various themes, and many more. The user interface is very straightforward, perfect for novice and first-time users.
Key Features:
- Supports 500+ file formats for audio and video (MP3, AAC, AC3, MP4, AVI, MKV, etc.)
- Video and Photo collage creator
- More tools on Toolbox (Video Watermark Remover, Color Correction, Video Rotator, etc.)
- Compatible with Windows and Mac computers
Free Download
For Windows
Secure Download
Free Download
for macOS
Secure Download
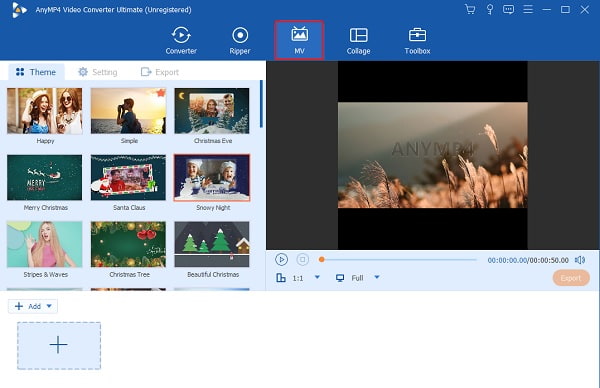
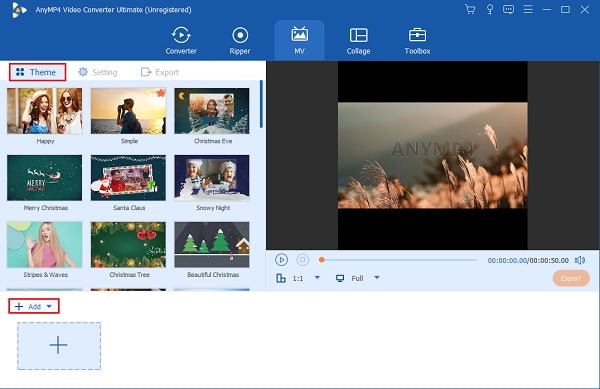
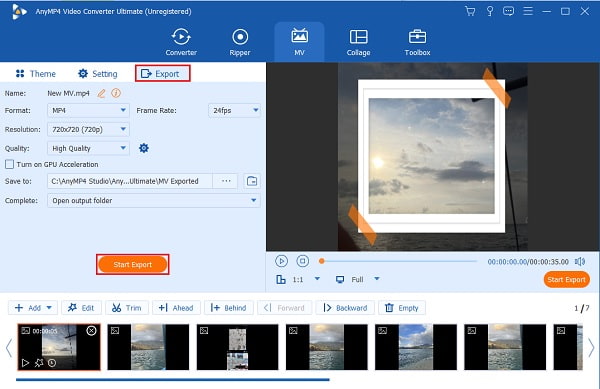
Step 1.Acquire the program by clicking the Download button to start the process. Then proceed to install the program on your desktop or laptop. Once you have successfully installed the tool, proceed to launch the application. Tap the MV feature to start creating a slideshow.
Step 2.Acquire the program by clicking the Download button to start the process. Then proceed to install the program on your desktop or laptop. Once you have successfully installed the tool, proceed to launch the application. Tap the MV feature to start creating a slideshow.
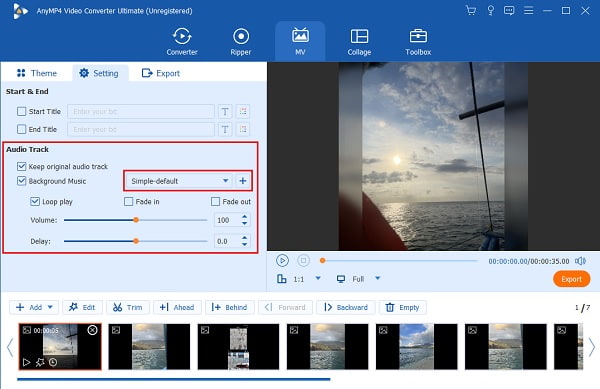
Step 3.You can head to the Setting tab to change the background music of your slideshow. Use the drop-down list or the + sign button beside Background Music to change the soundtrack. Volume’s slide control is for adjusting the intensity of the background audio, while Delay’s slide control is for adding an echo effect.
Step 4.Finally, head to the Export tab to change the video file’s name, file output format, frame rate, resolution, and video quality. Change to a format compatible with different devices and choose a higher resolution to increase the clarity of the video. Also, change the final output location to locate the file quickly. Hit Start Export to start the exporting process. Wait for the exporting process to finish.
Part 2. How to Make a Slideshow in Final Cut Pro
For those who have a Final Cut Pro on their Mac but rarely or have never used it before, here’s a step-by-step guide on how to make a slideshow in Final Cut Pro.
Step 1.To start a new project in Final Cut Pro, press File then New Project.
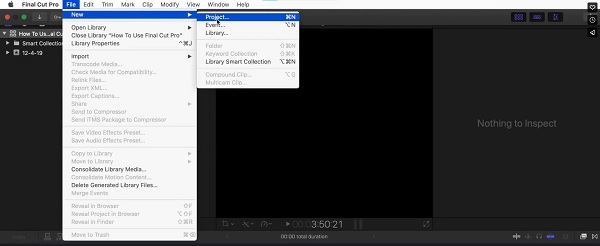
Step 2.Click File>Import>Files to start importing images you will use for your slideshow. Repeat the process if you want to include more photos in your slideshow.
Step 3.Drag the photos to the Timeline of your new project. You can arrange the images in any way or sequence you want.
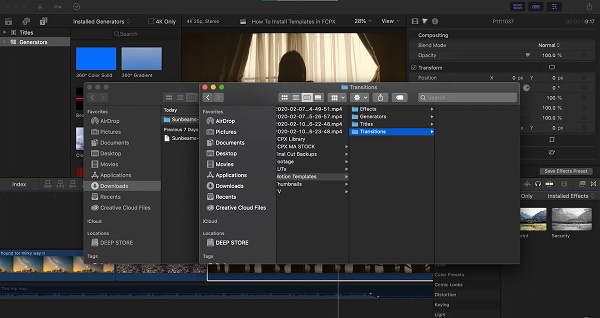
Step 4.You can then add transitions such as fade between photos. Click Effects from the menu, click Video Transitions, and tap the name of the transition to include it in your chosen place in the slideshow.
Step 5.To add music to your slideshow, click File>Import>Files> select music from your file folders>Import. After the audio file is imported into the program, drag it on the Timeline pane.
Step 6.To add texts to your slideshow, select Effects>Video Generators>Text> then Text again. Tap Controls from the pop-up window and type the text you will add. Click Video and drag the video box with the text to where you want it to appear.
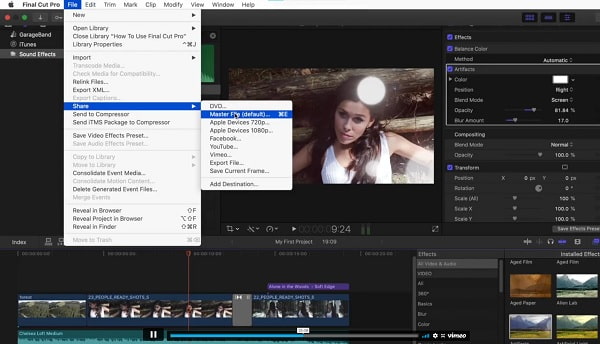
Step 7.To share your video slideshow, select File>Share>Master File (default). Make sure that you have enough storage space on your computer.
Part 3. Final Cut Pro Slideshow Templates and Slideshow Effects
Final Cut Pro slideshow templates are a collection of effects, transitions, titles, and generators usually found in the Motions folder. You can create your own Final Cut Pro effects, transitions, generators, and titles. Also, you can customize the premade ones to make your slideshows even better. What’s more, is that others can use your personalized templates if you allow them to.
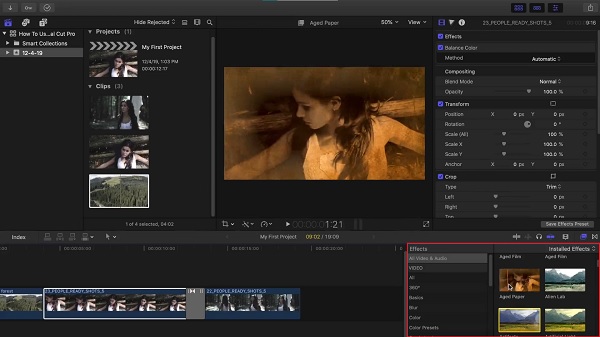
For Final Cut Pro slideshow effects, you get a wide variety of them for your video and audio clips. There are color effects, graphic equalizer, droplet ripples, insect-eye view, and others. There’s also the Ken Burns effect that adds life to motionless images and video clips as well.
Part 4. FAQs on How to Make a Slideshow in Final Cut Pro
-
What is the best slideshow maker tool on Mac?
We choose iMovie as the best slideshow maker to acquire on Apple devices. The first reason is that it is free to download on the App Store. Older devices have it pre-installed. Next is cross-compatibility and cross-sharing with Apple devices like iPhone and iPad. And last is how user-friendly it is, especially for novice users.
-
Does Mac have a pre-downloaded slideshow program?
Yes. You can create a slideshow on Mac using a pre-downloaded app called Photos. To know how to do it, follow the steps below.
1. Open Photos on Mac, and select the photo you will include in your slideshow.
2. Select File>Create>Slideshow>Photos. Tap the pop-up and select New Slideshow.
3. Type the name of the slideshow on the space provided, then click OK.
4. Tap the Themes button, then choose a theme for your slideshow. Then click the Music button to select any of the default music available. You can also use music from your Music Library.
-
Do professional filmmakers use Final Cut Pro?
Yes. A lot of TV producers, movie makers, news groups, pro editors and videographers, graphic designers, etc., use Final Cut Pro as their video editing software. Everyone knows that Final Cut Pro is really for professional users.
Wrapping up
Great news! You now have learned how to make a slideshow in Final Cut Pro. It may take a while to grasp using Final Cut Pro fully, but you will eventually get there. And if you want a tool that can be accessed on both Windows and Mac, with a straightforward interface and plenty of features, always remember Video Converter Ultimate.